Painting with Light: A Guide to Stunning Vehicle Light Trail Photography
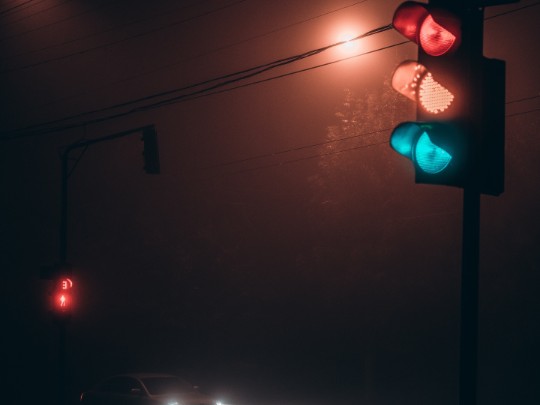
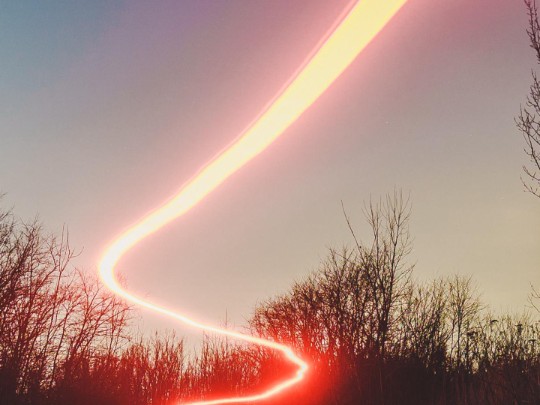
There's a mesmerizing quality to nighttime highway photography. The streaks of light left by passing vehicles, known as vehicle light trails, transform the ordinary into something extraordinary – dynamic, abstract works of art. This guide will walk you through the process of capturing these captivating images, from essential equipment to post-processing techniques.
The Gear You'll Need
Creating impressive vehicle light trails isn't about complex equipment, but about using what you have effectively. Here's a breakdown of the essentials:
- Tripod: Absolutely crucial. A rock-solid tripod is non-negotiable for those long exposures.
- Remote Shutter Release or Self-Timer: Minimizes camera shake when triggering the shutter. Even the slightest movement can ruin a long exposure.
- Camera: Any camera with manual mode will do. A DSLR or mirrorless camera gives you the most control, but even some smartphones have long exposure modes.
Mastering Exposure
Shutter speed is the key to creating those beautiful light trails. Experimentation is vital, but here are some starting points:
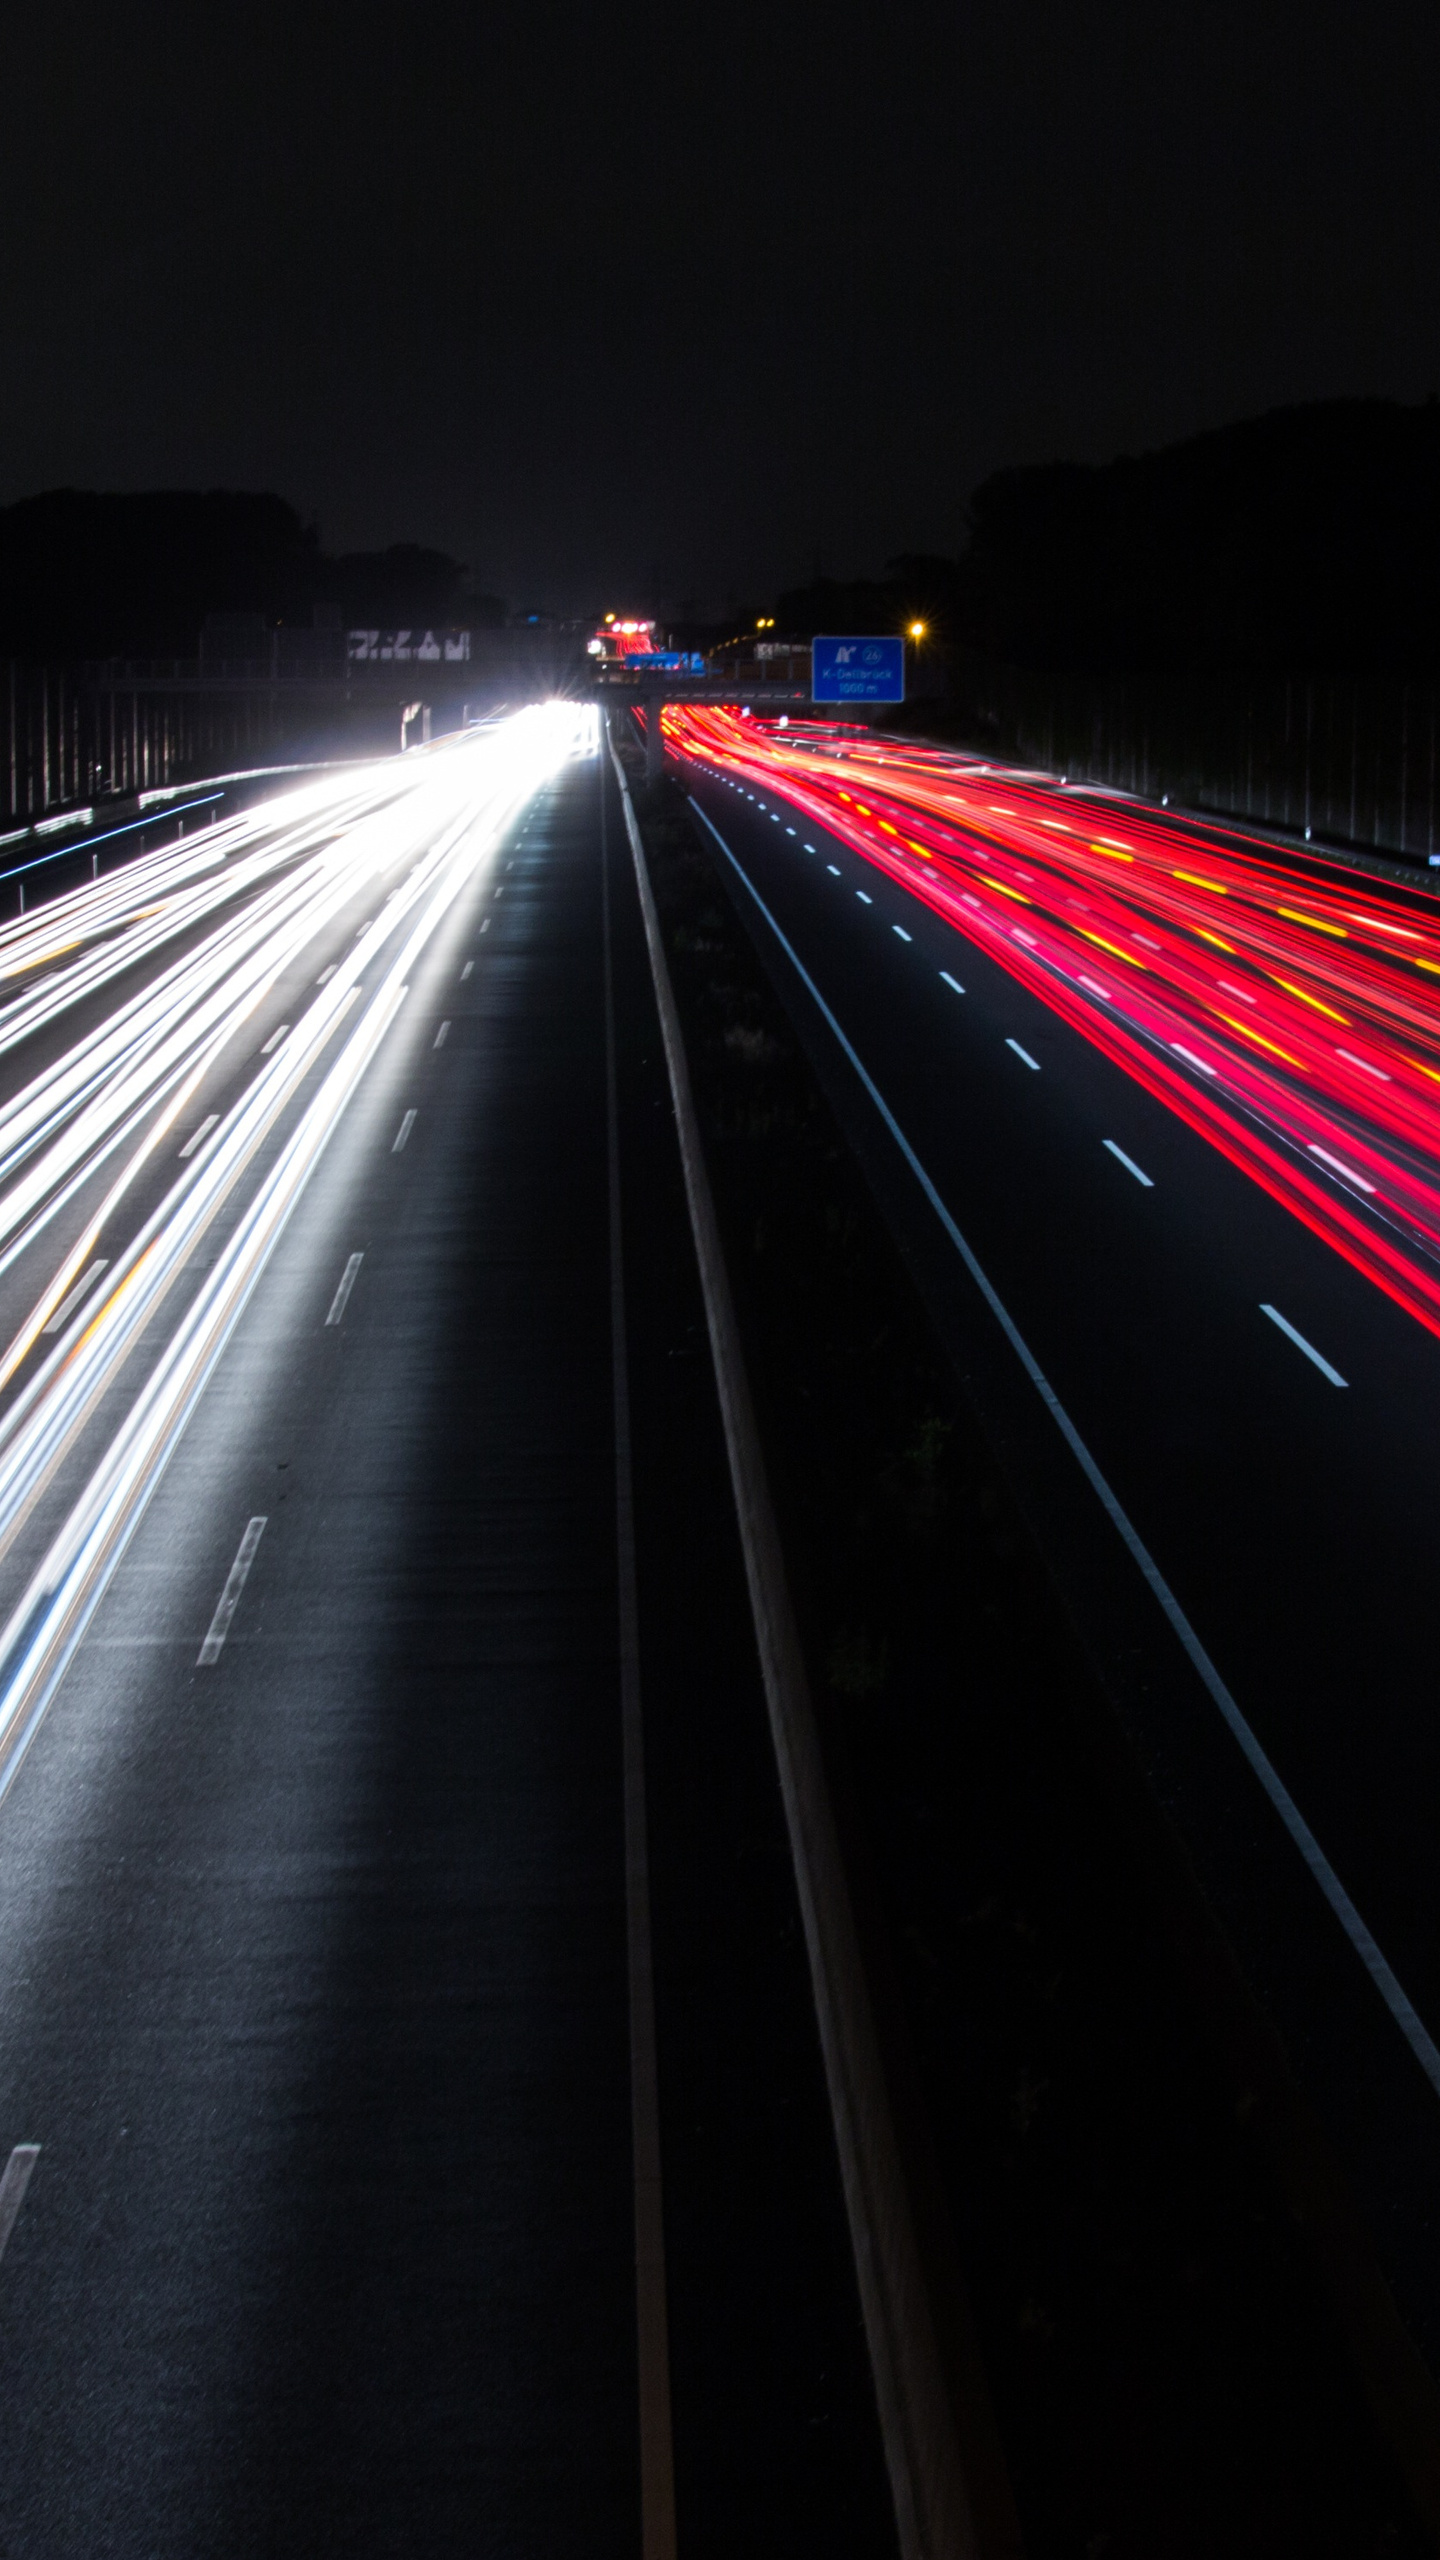
- Long Exposures (15-30+ seconds): Produce dramatic, flowing trails, ideal for conveying a sense of speed and motion.
- Shorter Exposures (5-10 seconds): Offer a balance between motion blur and retaining some detail in the surrounding environment.
Aperture and ISO also play a role. A smaller aperture (higher f-number) will increase depth of field, ensuring more of the scene is in focus. Keep your ISO as low as possible to minimize noise.
Finding the Perfect Location & Composition
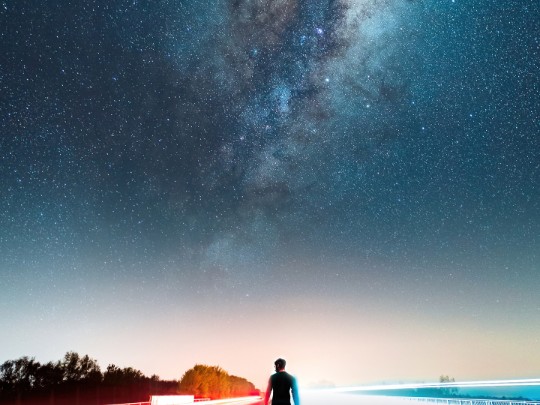
The highway itself is just the starting point. Consider the surrounding environment. A vibrant city skyline, a picturesque rural landscape, or even the patterns of the road surface can add depth and interest to your image. Think about:
- Leading Lines: Use the lane markings to guide the viewer's eye through the scene.
- Foreground Interest: Include elements in the foreground to provide context and scale.
- Angles & Perspectives: Don't be afraid to get low, climb high, or experiment with different viewpoints.
Post-Processing for Impact
Post-processing can really elevate your vehicle light trail photographs. Here are a few adjustments to consider:
- Contrast: Increase contrast to make the light trails pop.
- Highlights & Shadows: Fine-tune highlights and shadows to reveal detail and create a more dramatic look.
- Color Correction: Adjust white balance and saturation to enhance the colors of the lights.
With a little practice and creativity, you can transform a seemingly ordinary highway into a stunning visual masterpiece. So, grab your camera, head out under the night sky, and start painting with light!